Pumpkin Succulents Kid-Friendly Fall Halloween Craft Project

For as long as I can remember, I have often said “I am not crafty.” Yet I’m the first one to buy my pumpkin each year to carve or decorate, and my house is decorated for the next holiday before the sun sets on the current one!
I finally realized why crafts intimidated me so much: because I am a perfectionist. And crafts, by their very nature, are never perfect. And they should never be. Part of crafting is the process, the joy of making them, and the other part is that you never quite know how it is going to turn out.
Just like cooking, you never quite make the same meal taste the exact same, even if you follow the same recipe.
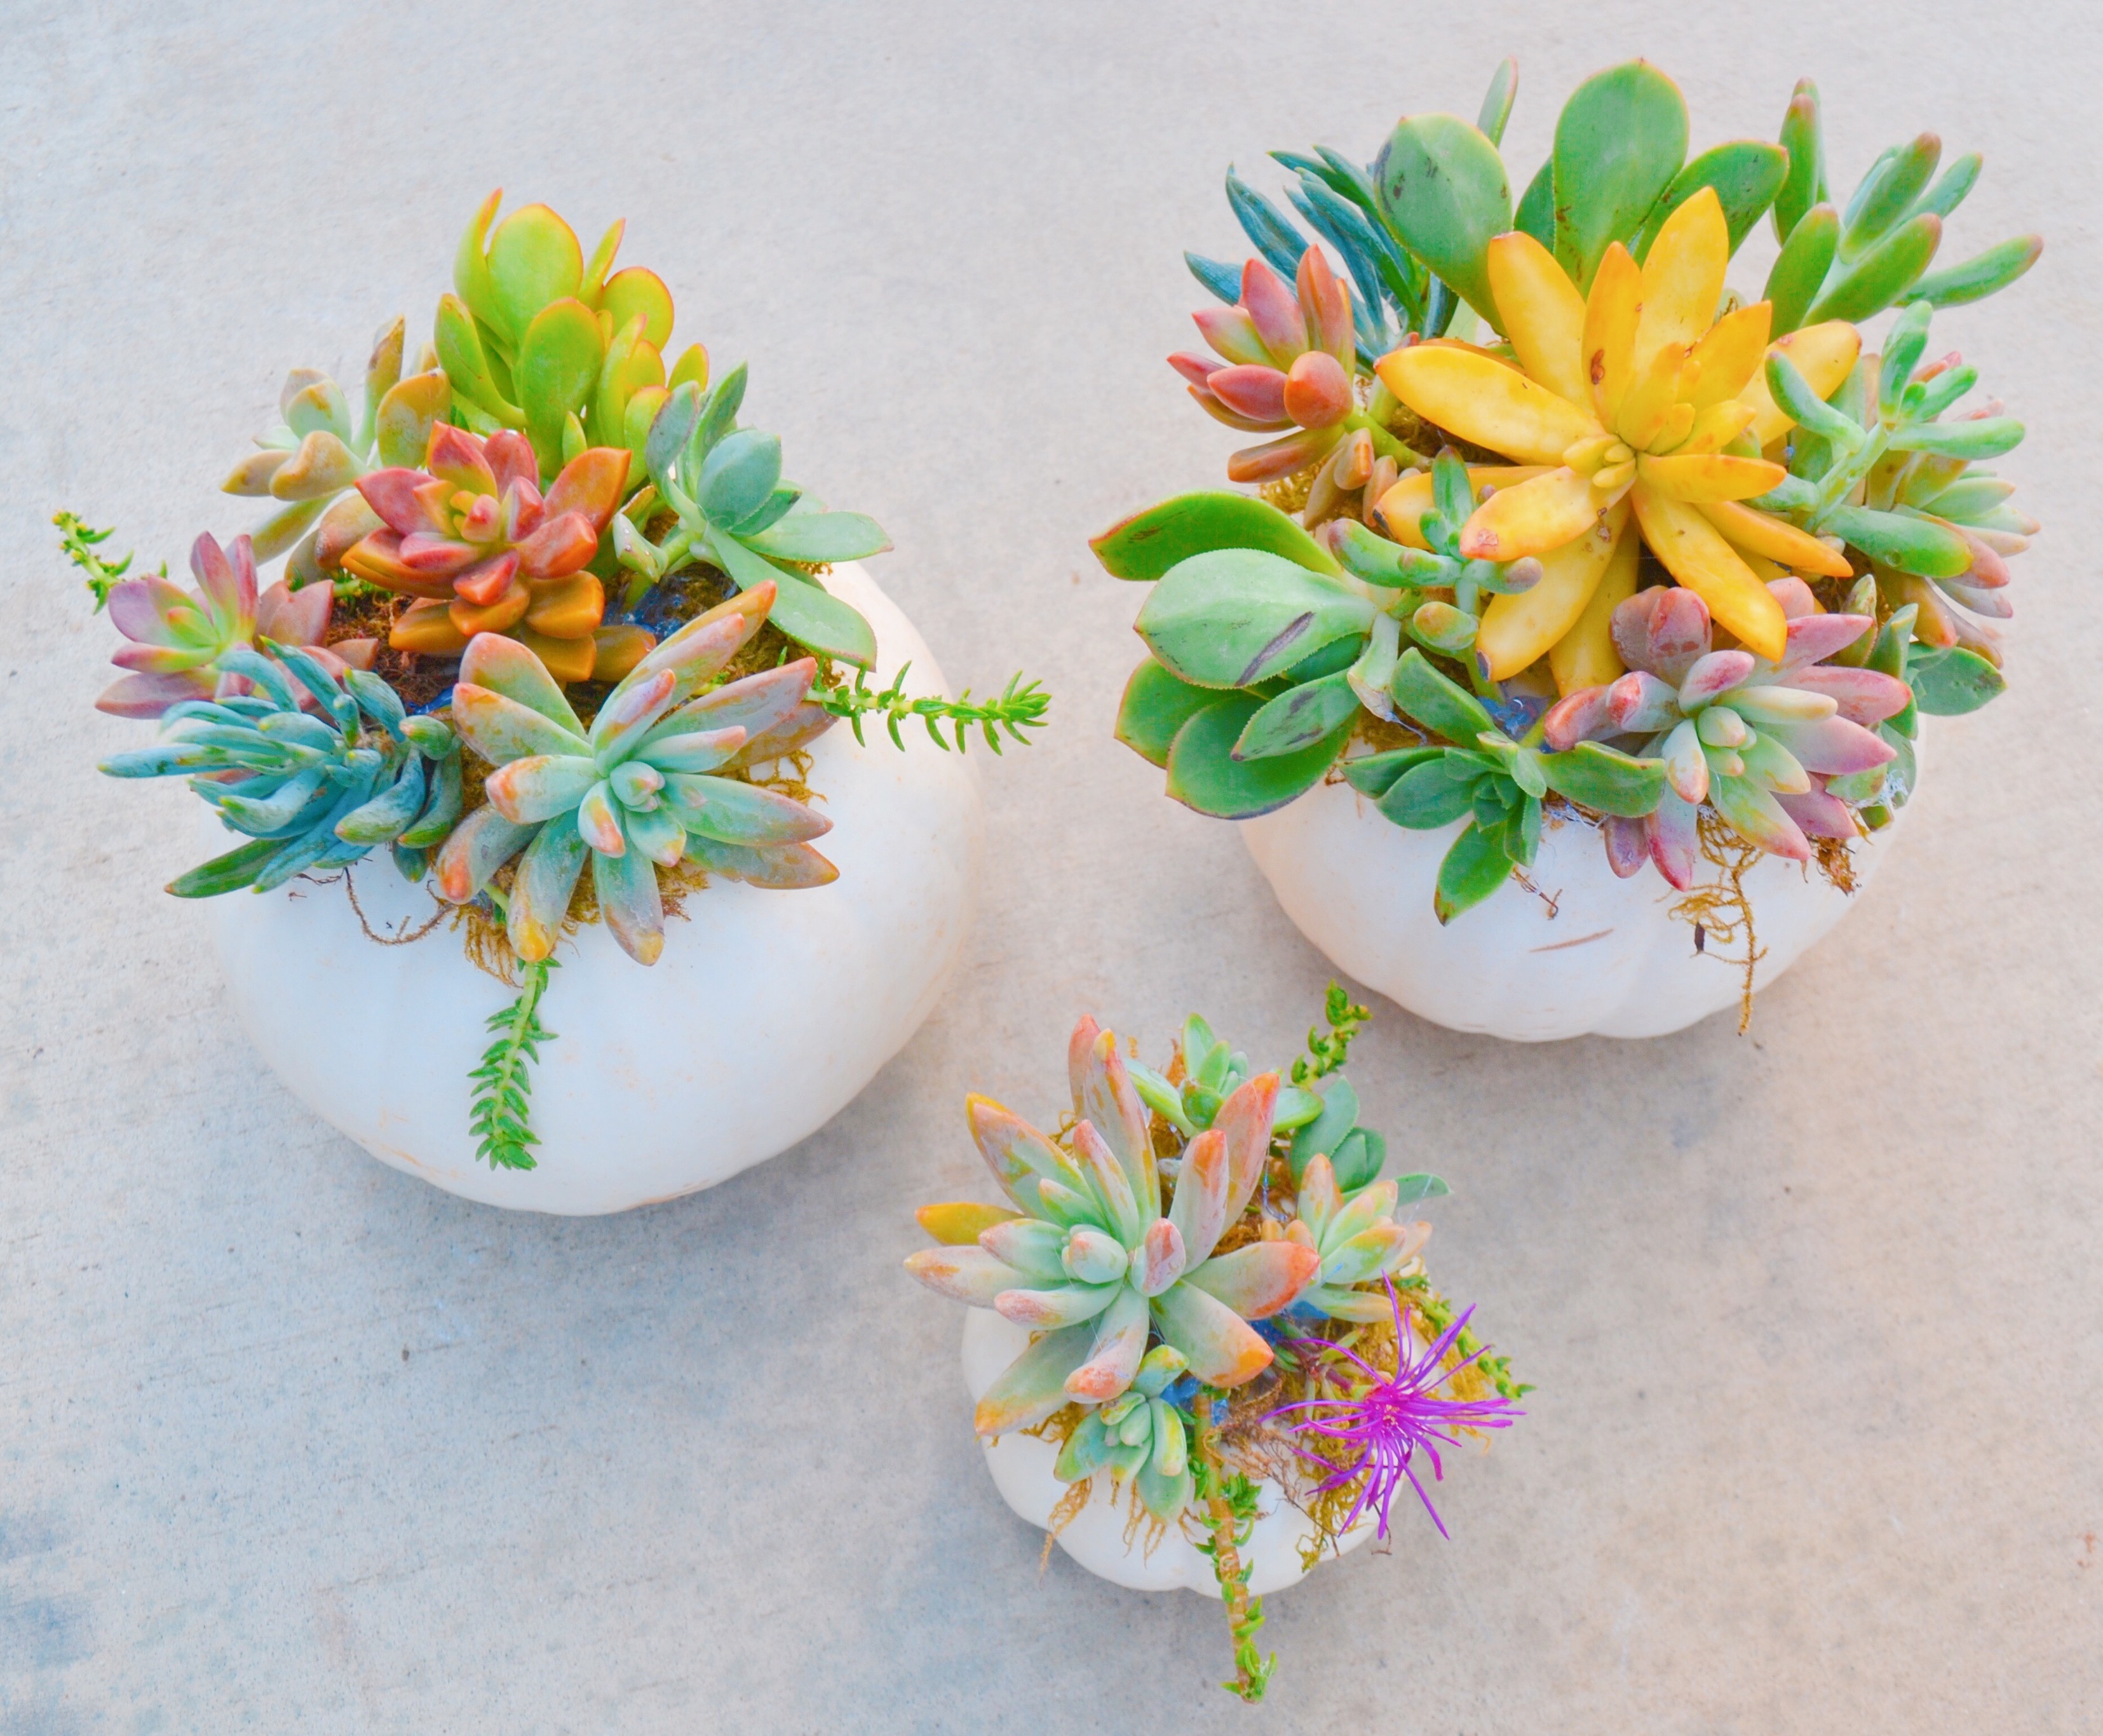
I’m planning a gorgeous Fall-themed event, so this Pumpkin Succulent craft project seemed perfect to provide that “wow” factor.

What you will need:
- Pumpkins (I preferred white, and got a mixture of mini and small pumpkins)
- Moss (Home Depot)
- Glue Gun + Glue Sticks (Home Depot)
- Glue Spray – 3M (Home Depot)
- Succulents (I picked up two 6 packs from Home Depot)
- Scissors
- Newspapers or the large trash bag like material home depot gives you to avoid messes in your trunk (LOVE!)

Step one – set everything out on your mess-free surface (you can always cut open a trash bag or do this outside). Figure out what your child can do to participate. I will share what my 5 year old was able to do for this project.
Step two – warm up your glue gun on the LOW setting while you open the moss. Pull it apart and make a thin layer enough to cover the top of the pumpkin. You do NOT need to cut off the stems. Just put the moss around it. My son loved helping with the moss.
Take it off and turn it over (so the prettier sides are facing up. Mine was not too green so one side was a clear winner).
Spray a light layer of the glue on the moss. NOTE – you may want to open a door or window as I am sure this is a bit toxic (paranoid mom here. Don’t let your child sit right next to you when spraying!)
Immediately stick the moss on the top of the pumpkin, making a kind of “hat” for it.
Step three – cut succulents. My son used his kindergarten scissors and loved cutting the stems. He then cut up all of the leaves that fell apart for his own mini project.

Start placing them one by one on top of the pumpkin using a little hot glue on the LOW setting (since they are alive!). I placed the glue and my son placed the succulent. Depending on the placement, you need to hold it between 2 and 10 seconds (or more if it is very slopey).
Turn the pumpkin as you place the succulents and fill it in. Remember, there is no perfect Pumpkin Succulent, and it’s fun to make them all different. I mixed colors and varieties, making some go higher, and some hang down lower.
Step four – continue until you are done. Place the pumpkins up high to avoid kids playing with them until they are fully dry.
It took us less than an hour to do eight pumpkins, and we had SO MUCH FUN with Pandora playing (with Beyonce and Pink jams).
Step five (optional) – have your child glue the stems that fell off to a piece of paper for another fun project (you can set this aside and do it later).
Final cost – about $60 (and this includes buying my glue gun, yay!).

[…] Click here SAVE MONEY ON MY FAVORITE VITAL PROTEINS COLLAGEN PROTEIN POWDER! WHAT'S NEW @ WALT DISNEY WORLD DURING FALL 2019 SECRET INSIDER TIPS FOR YOUR ALASKA DISNEY CRUISE WHY YOUR NEXT FAMILY VACATION SHOULD BE A DISNEY CRUISE MUCH ADO ABOUT SENSORY PROCESSING DISORDER A BUTTERFLY PARTY 75 INSTA CAPTIONS FOR YOUR DISNEY CRUISE! CINDERELLA TIARA DIY FINDING THE RIGHT MOISTURIZER FOR YOU, WITH OLAY! YOU NEED TO TRY RAINBOW NAILS! […]
[…] you know me, you know that I think it’s NEVER too early to start decorating for fall! Halloween is one of my favorite holidays, and I wasted no time […]